Getting started with Arena
Creating your account
1. Visit the
account registration page2. Enter your details and use a strong password
3. Click
Register to create your account
Note: Once your account is created, you'll be automatically enrolled in the Free plan (no credit card required) and directed to the account set up page.
Logging back in
Access your Arena account at any time with these simple steps:
1. Visit the
login page2. Enter your credentials and click the
Sign In button
Forgotten your password?
1. Visit the
Forgot Password page2. Enter your registered email address
3. Check your email for a password reset link (valid for 24 hours)
4. Click the link and create a new password
5. Log in with your new credentials
Dashboard and Profile
The dashboard displays an overview of Arena and is a convenient way to view recent projects and experiments, create new experiments or custom environments, watch Arena tutorials and read the latest changes on Arena.
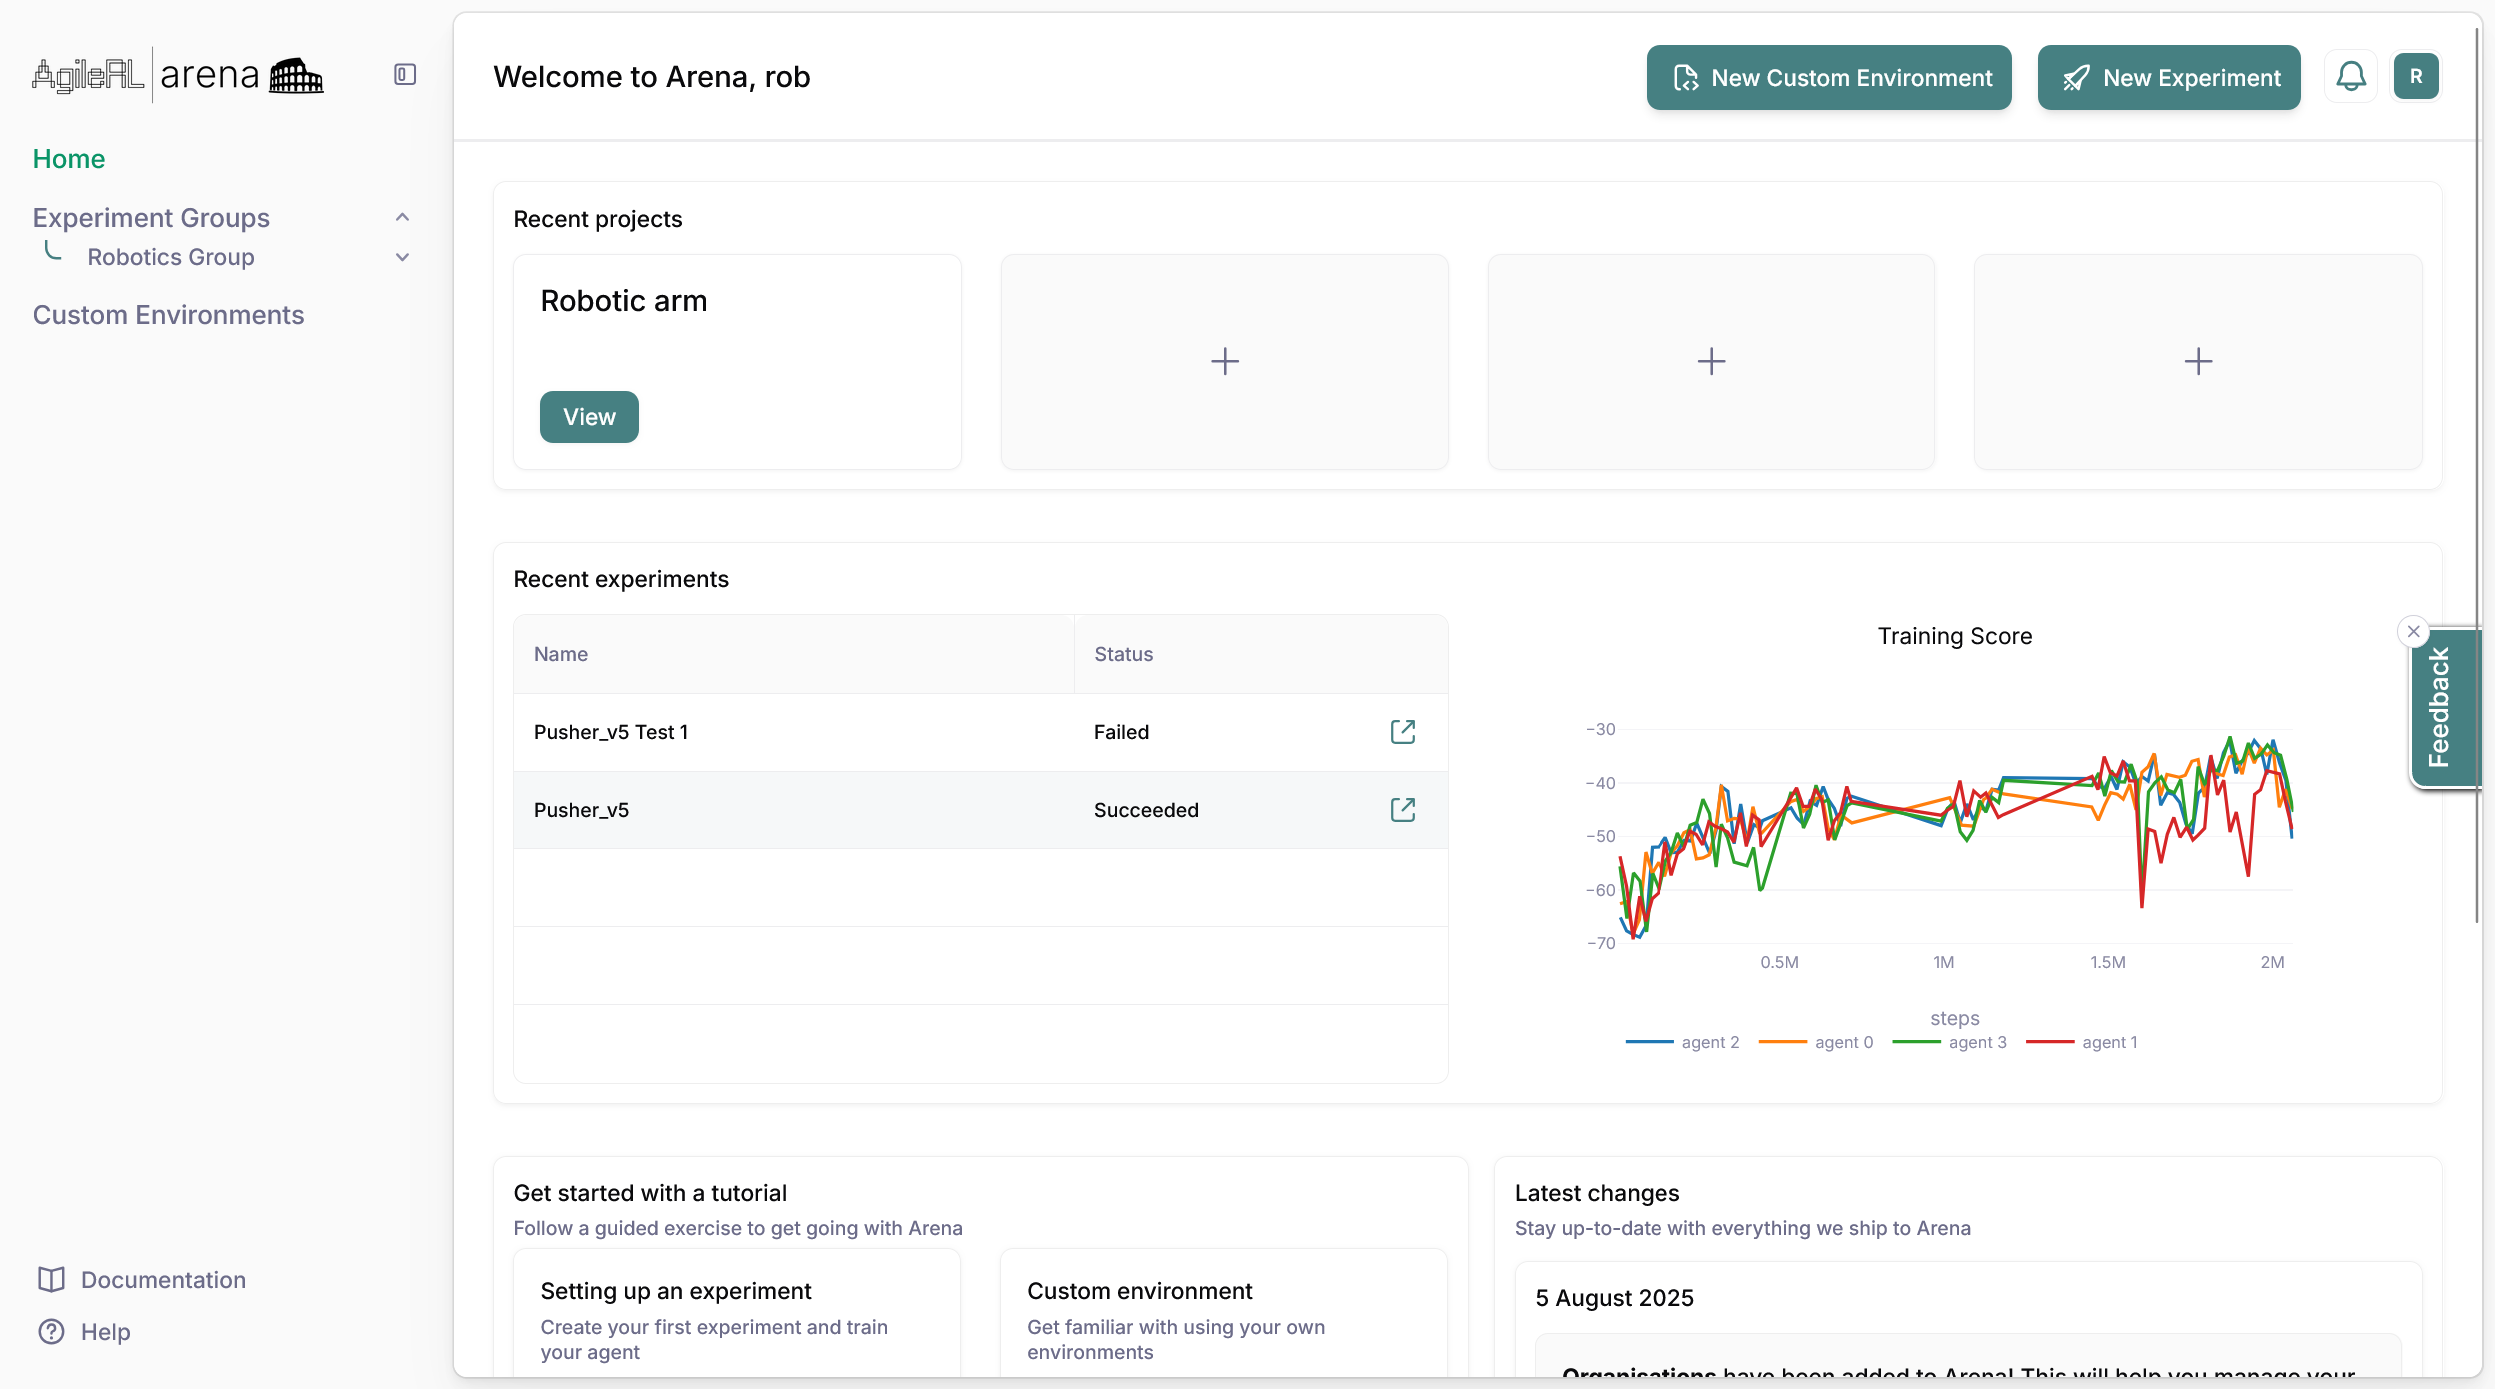
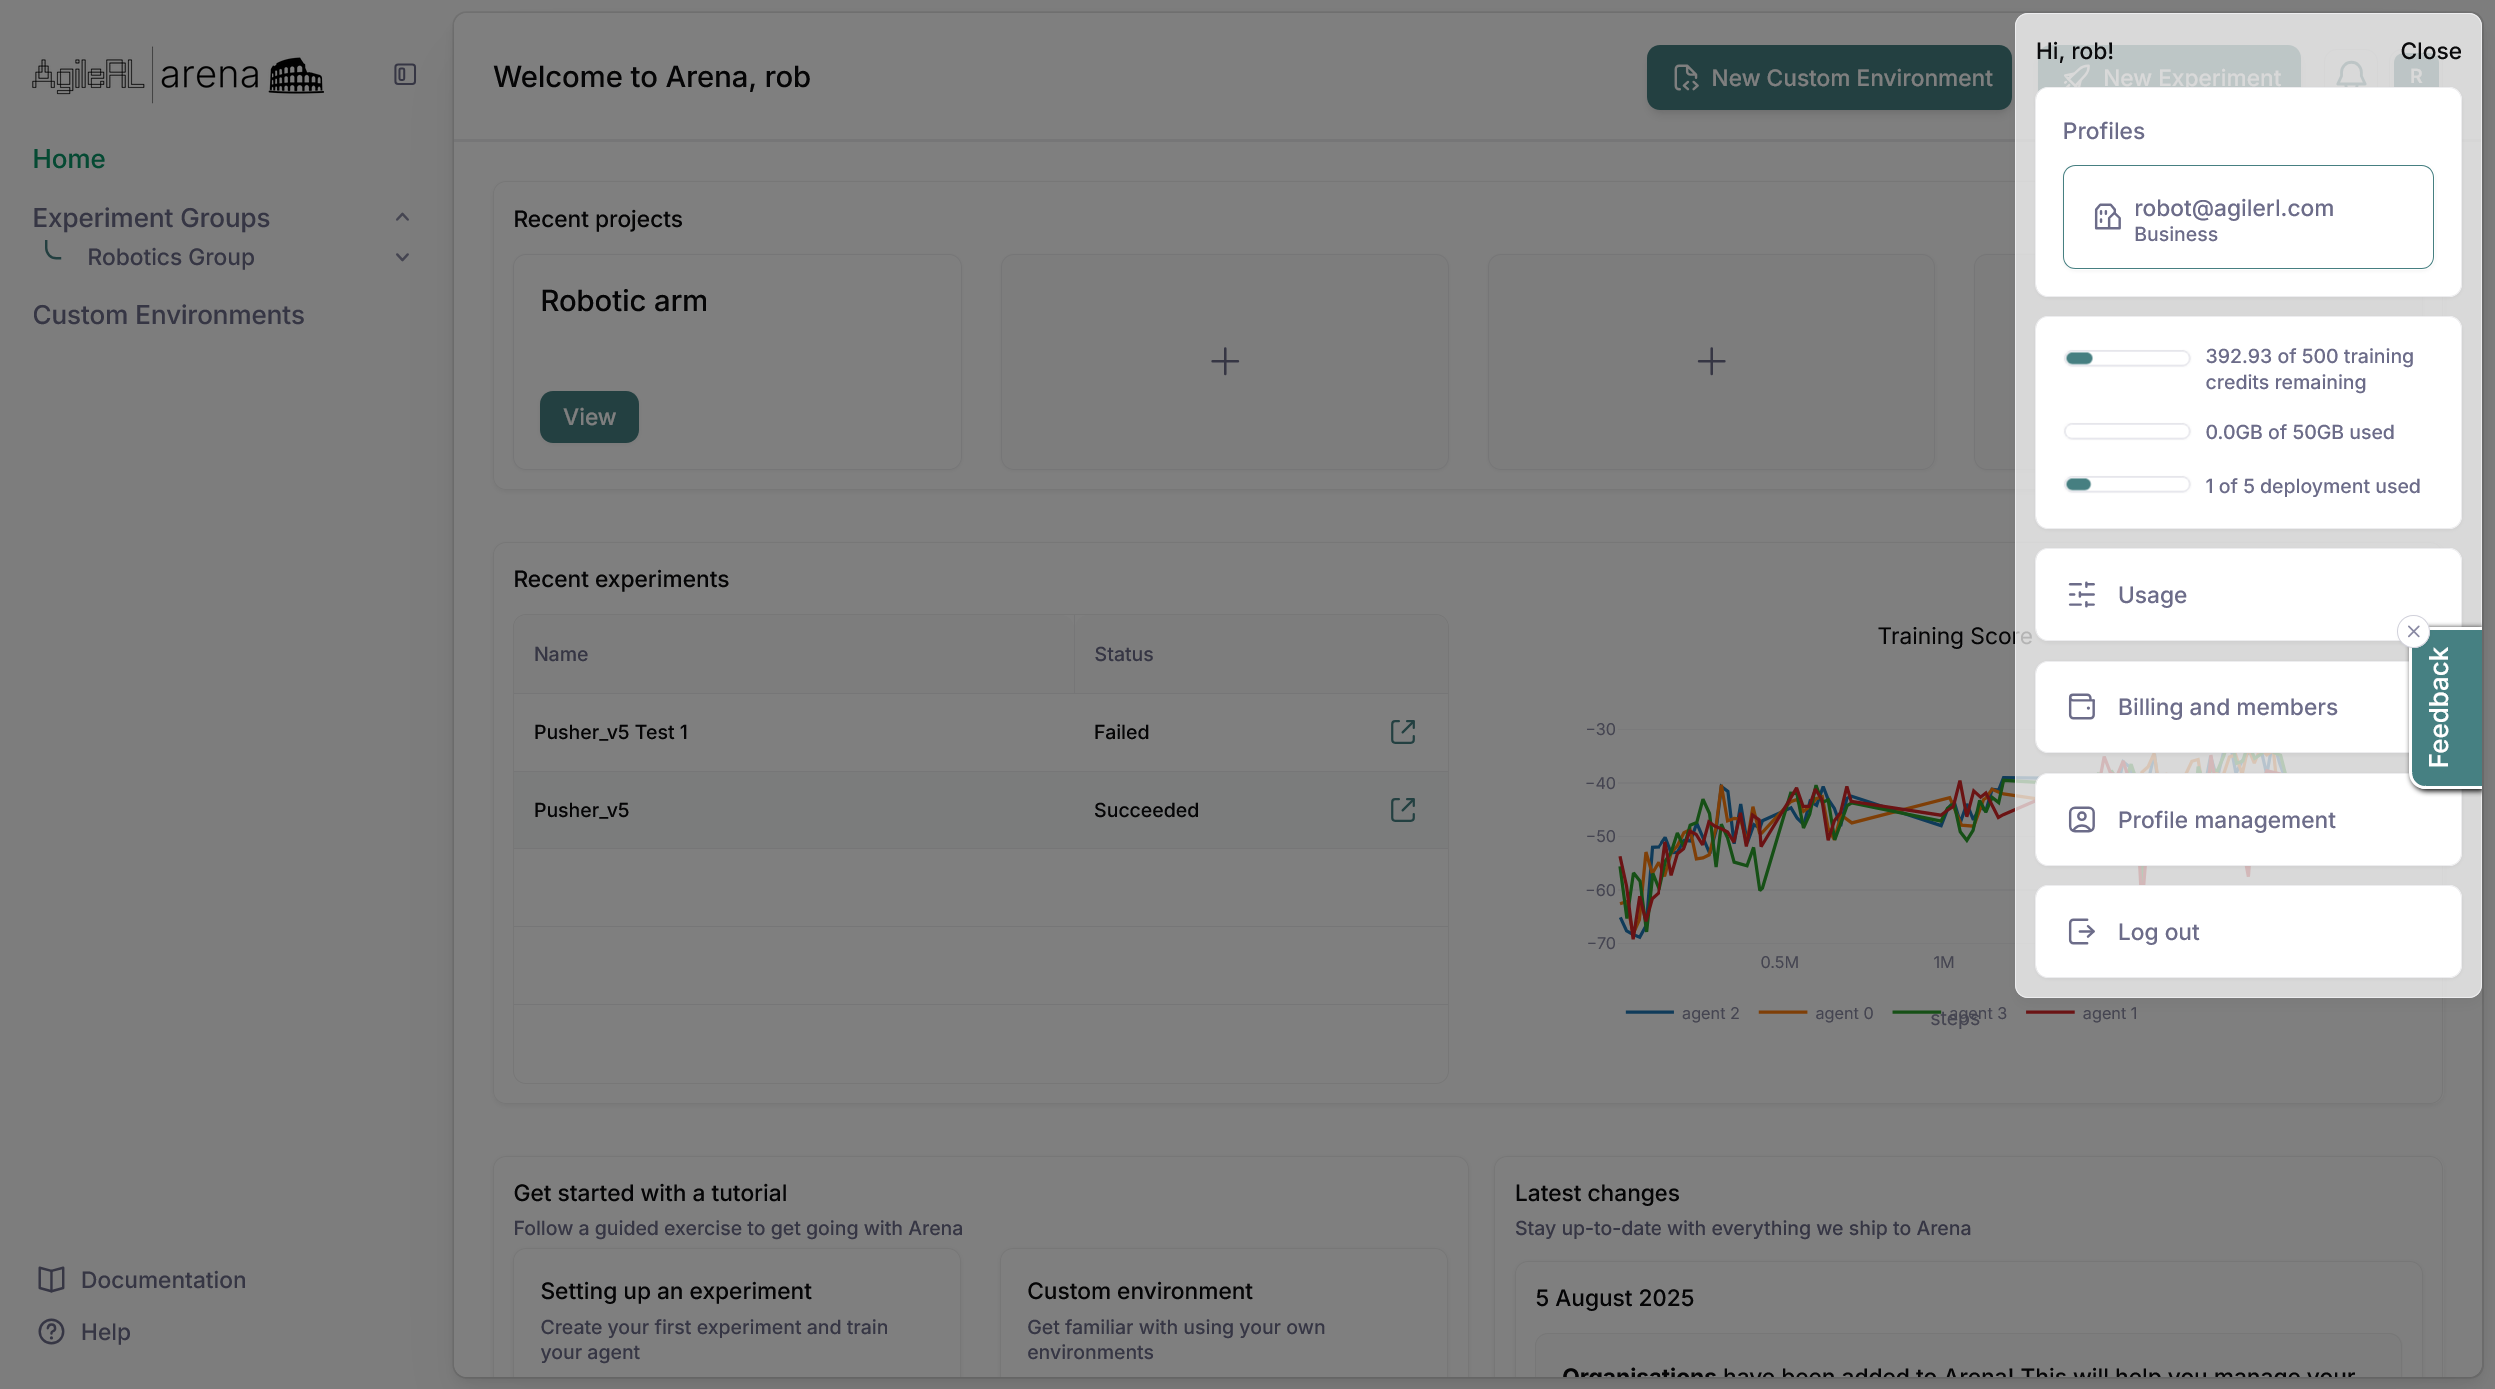
Other areas of your account can be accessed through the profile manager. It can be accessed by clicking on the profile icon on the top right of the page.
Plans & pricing
When you first sign up for Arena, you'll be automatically enrolled in our Free plan. This gives you immediate access to the platform so you can start training agents immediately.
Note: All new accounts automatically start with the Free plan. No credit card required to get started!
Upgrading your plan
Upgrading your Arena plan is simple and can be done at any time. Your upgrade will take effect immediately.
1. Navigate to your Account Settings by clicking on your profile icon in the top-right corner
2. Select Billing and members from the dropdown menu
3. Click on the Change plan button
4. Choose your desired plan from the available options
5. Enter your payment information (credit card or PayPal)
6. Review the charges and confirm your upgrade
Important: When upgrading, you'll be charged a prorated amount for the remainder of the current billing cycle. Your next full charge will occur on your regular billing date.
Downgrading your plan
You can downgrade your plan at any time. The downgrade will take effect at the end of your current billing cycle.
- No partial refunds are provided for downgrades
- You'll retain access to your current plan features until the end of the billing period
- Ensure your usage will fit within the lower plan's limits before downgrading
Topping up training credits
If you are running low on training credits, you can simply top up without upgrading your plan.
1. Navigate to your Account Settings by clicking on your profile icon in the top-right corner
2. Select Usage from the dropdown menu
3. Navigate to the Need more training credits? section and click the Buy now button
4. Select the package that suits your needs or add a custom amount
5. Click Purchase and follow the checkout steps
Usage & limits

Checking your usage
Monitor your resource usage and limits to ensure you're staying within your plan's boundaries. You'll receive notifications before reaching limits. Once exceeded, new experiments will be saved but not started until the next billing cycle, when you upgrade or top up your credits.
1. Navigate to your Account Settings by clicking on your profile icon in the top-right corner
2. Select Usage from the dropdown menu
3. View your plans's statistics including:
- Training credits available in your plan and how many have been used
- Storage utilised and available
- Deployment slots used and available
- Team member slots available and utilised
Tip: Usage resets on the first day of each billing cycle. Unused resources do not roll over to the next month.
Viewing your daily & monthly usage
Track your credit consumption and balance throughout each billing period with detailed usage statements.
1. Navigate to your Account Settings by clicking on your profile icon in the top-right corner
2. Select Usage from the dropdown menu
3. Select the billing period you want to review using the month dropdown (e.g., "August 2025")
4. View your monthly summary including:
- Balance brought forward - Credits carried over from the previous month
- Purchased - Credits added through top-ups and plan renewal during the month
- Consumed - Total credits used for experiments and compute resources
- Closing balance - Remaining credits at the end of the period
Daily transaction breakdown
The statement table shows all daily transactions for the selected month:
- Date - When the transaction occurred
- Top Up - Credits purchased on that day
- Credits Used - Credits consumed by your experiments
- Balance - Running balance after each transaction
Downloading your statement
Click the Download button next to any daily transaction to export a detailed CSV breakdown of the selected month’s activity. This includes:
- Individual experiment costs
- Compute resource usage per experiment
- Experiment IDs for reference
Note: Daily statements provide granular tracking of your usage, making it easy to allocate costs across projects or teams and identify usage patterns.
Billing & Invoices
Payment methods
Arena accepts multiple payment methods for your convenience:
- Credit cards (Visa, MasterCard, American Express)
- Debit cards with online payment capability
- Wire transfer (Enterprise plans only)
- Purchase orders (Enterprise plans only)
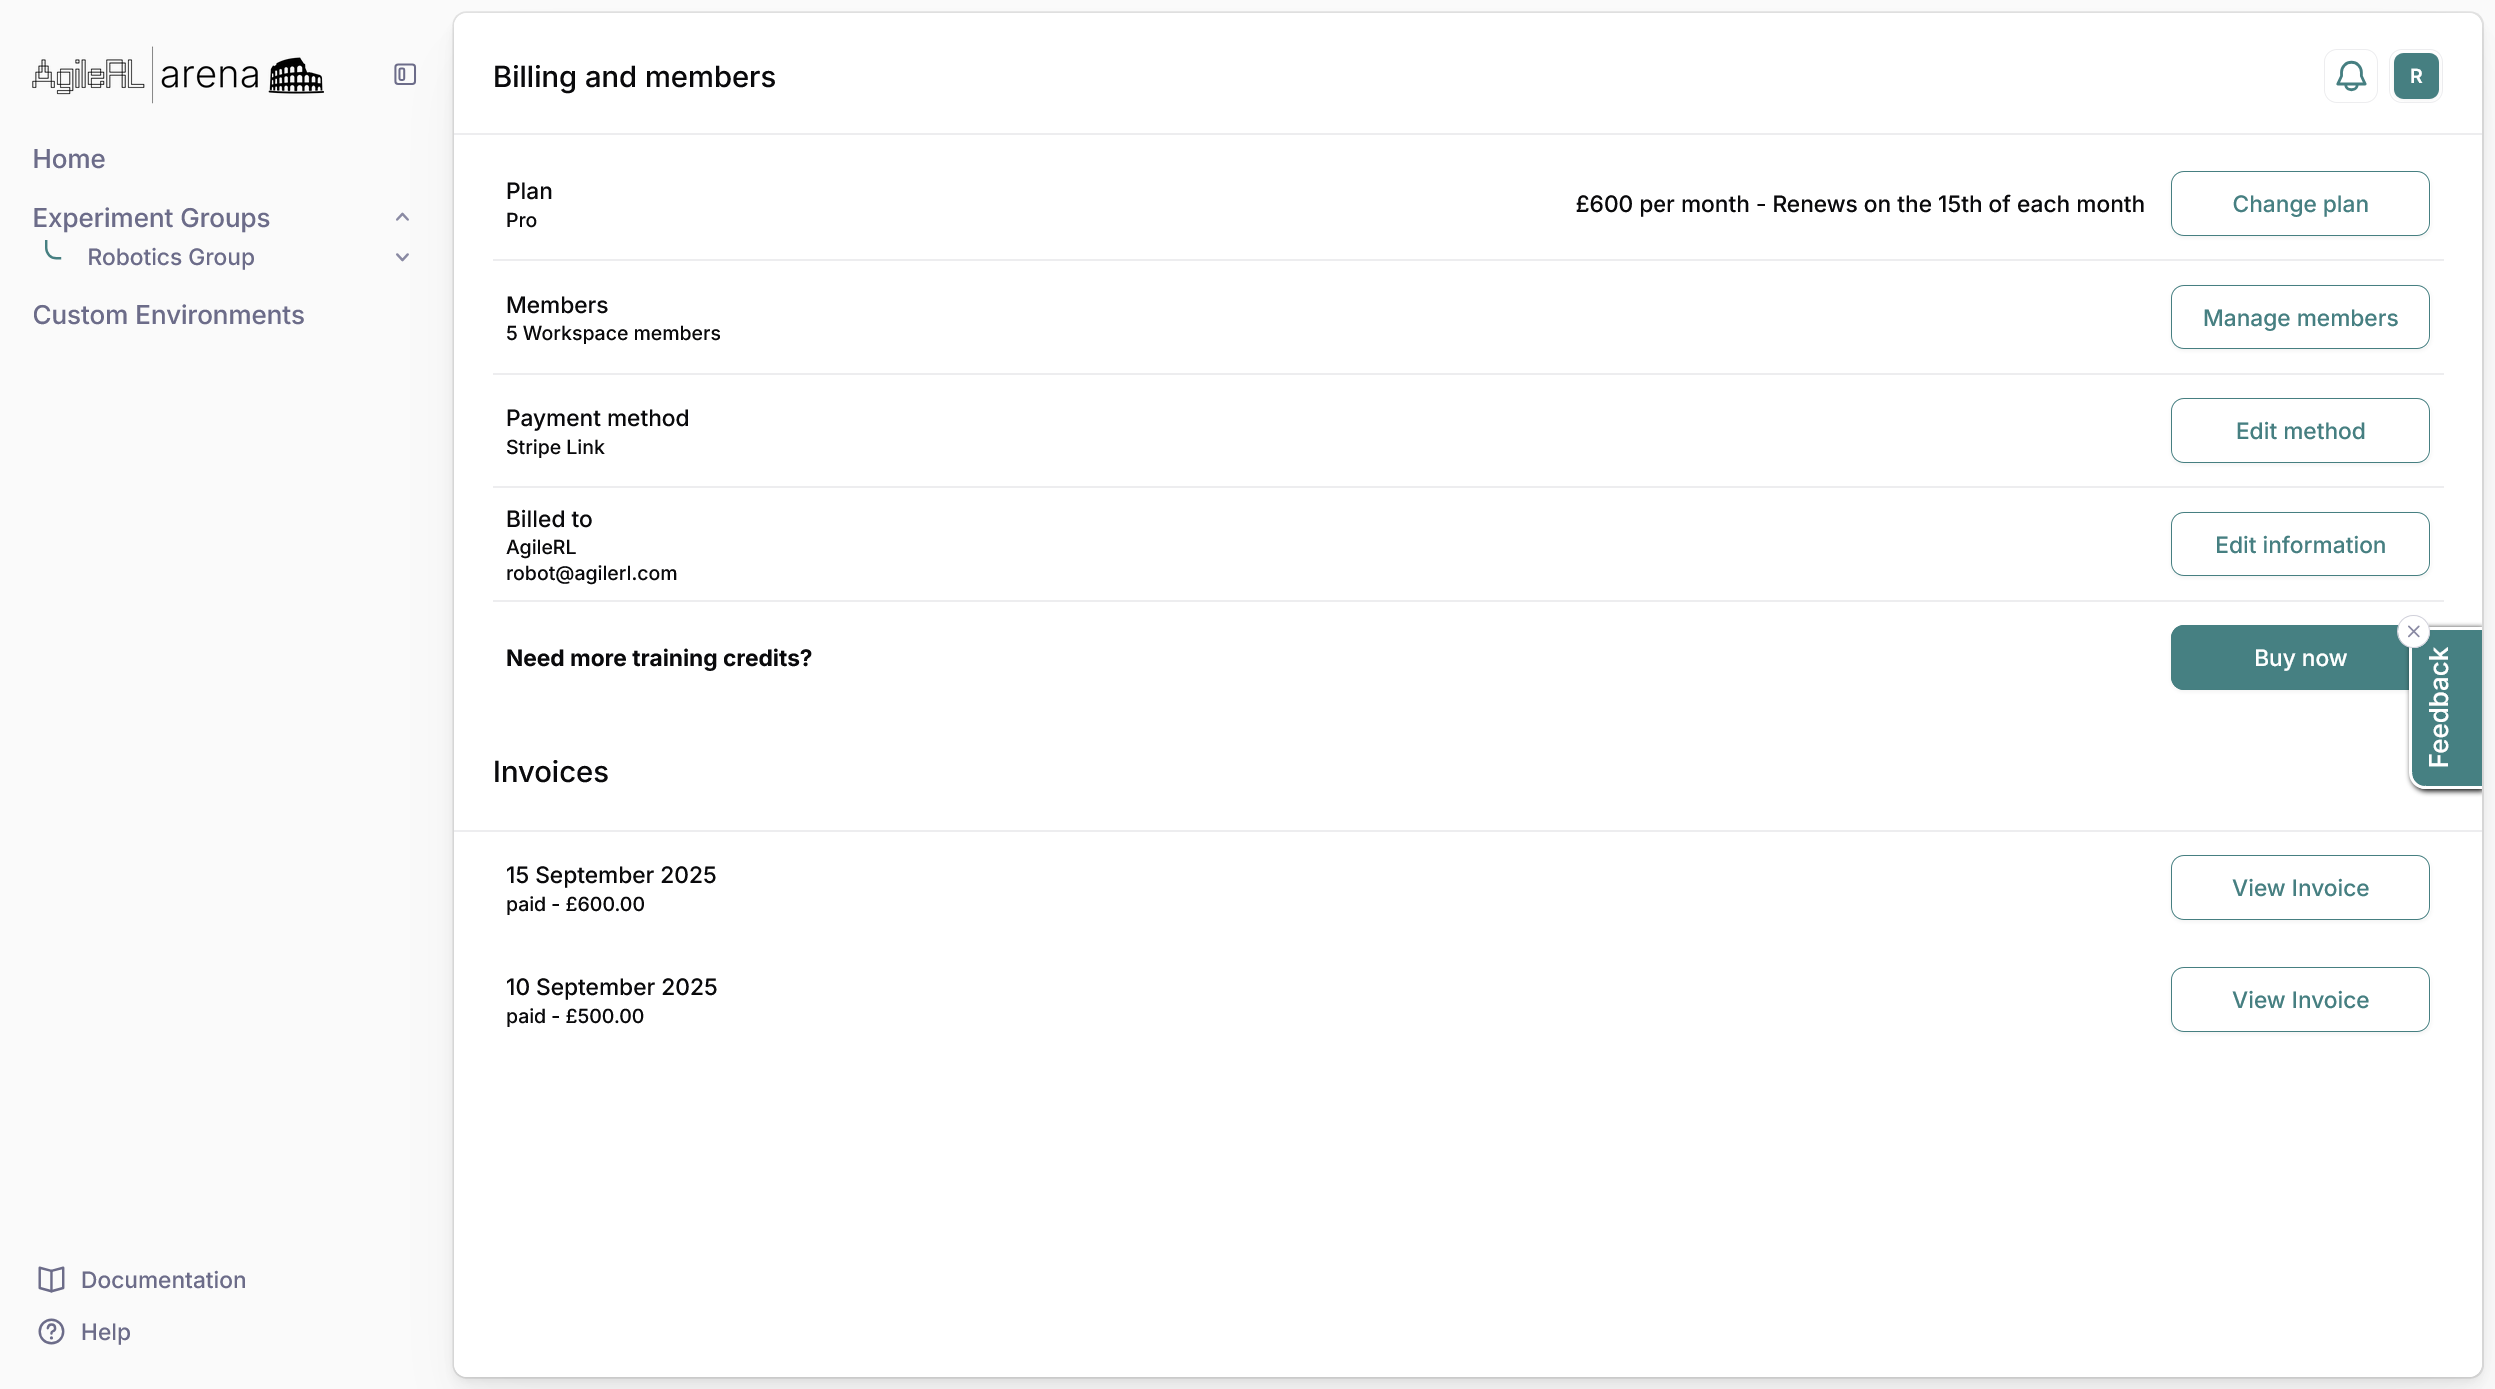
Updating billing information
1. Go to Billing & members
2. Find the Billed to section and select Edit information
3. Here you can edit the contact name and billing email address)
Updating Payment method
1. Go to Billing & members
2. Find the Payment method section and select the Edit method button
3. Here, you can delete the existing payment method or add a new one
Security Note: All payment information is encrypted and processed through PCI-compliant payment processors. Arena does not store credit card numbers.
Accessing your invoices
1. Navigate to your Account Settings by clicking on your profile icon in the top-right corner
2. Select Billing & members
3. In the Invoice section, find the invoice you need and click View Invoice
Note: All invoices are automatically generated and available for download in your account.
Team member management
Adding team members
1. Navigate to your Account Settings by clicking on your profile icon in the top-right corner
2. Click the Manage members button
3. Enter email address and click Invite to add the user to your workspace
4. Each email address should receive an email with an invitation link to join your team
Note: For Professional, Business and Enterprise plans, you can add members to your workspace.
Removing team members
1. Navigate to your Account Settings by clicking on your profile icon in the top-right corner
2. Click the Manage members button
3. The members table shows a list of team members and their roles
4. Use the Bin icon to remove members